A collage of paintings can read as one object only when the fragments feel chosen, not merely attached. In this article, I break down what the technique is, which materials behave well together, how I build the surface layer by layer, and how to keep the finished work stable over time. I also cover the mistakes that most often lead to warping, brittleness, or visual clutter.
The decisions that matter most in a layered painted composition
- The support is part of the artwork, not just a backing.
- Acrylic matte medium or gel medium is usually the safest default for studio construction.
- Composition still has to lead the eye, or the surface reads as clutter instead of intention.
- Drying time, humidity, and light exposure have a bigger impact than many artists expect.
- Documentation helps both conservation and authentication later.
What a painted collage is really doing
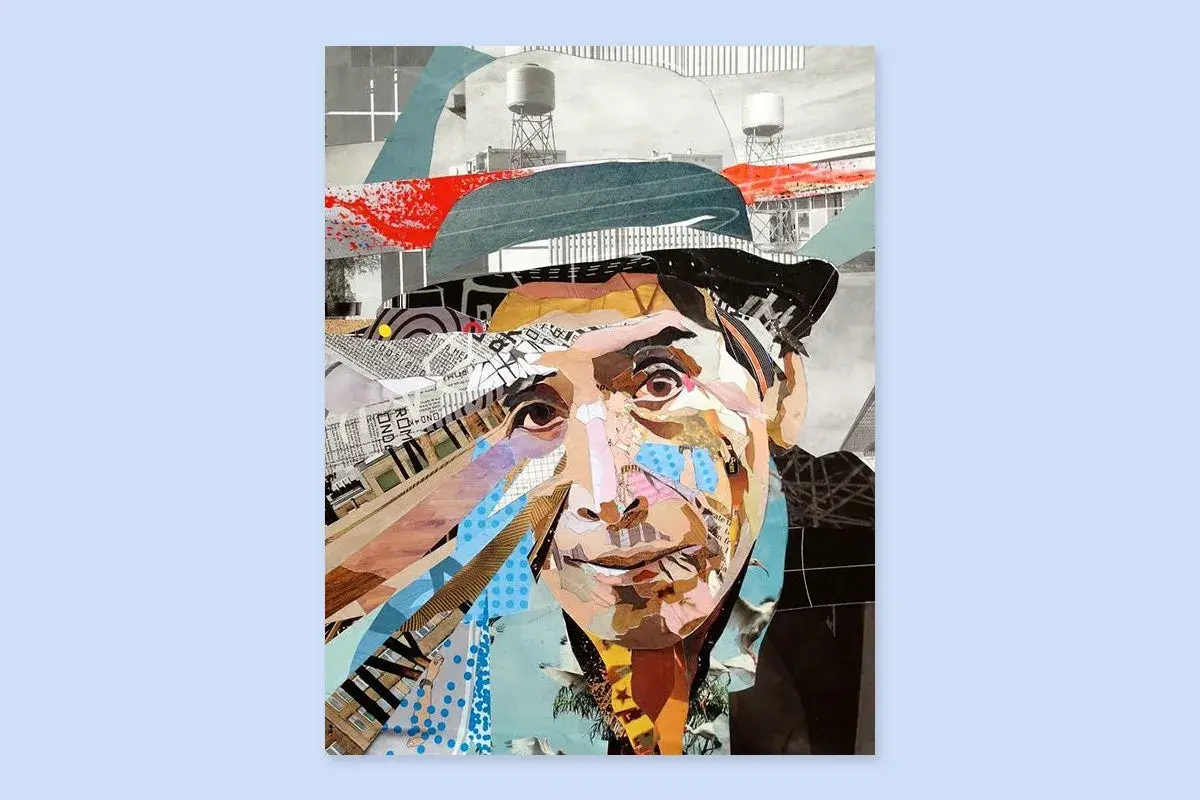
I think of this method as a single image built from multiple painted events. That can mean torn painted paper, small canvas studies, painted fabric, or shaped supports layered into one surface. The technique sits between collage and painting: collage provides structure, while paint unifies, softens, or deliberately disrupts that structure.It works especially well when you want texture, discontinuity, or a visible sense of process. It also makes the piece easier to overcomplicate. If every fragment is trying to become the focal point, the result stops feeling like composition and starts feeling like inventory.
For that reason, I always start by asking a simple question: what job is each fragment doing? If I cannot answer that in a sentence, the work usually needs more editing before I commit to glue or paint. Once that role is clear, the material choices become much easier to judge.
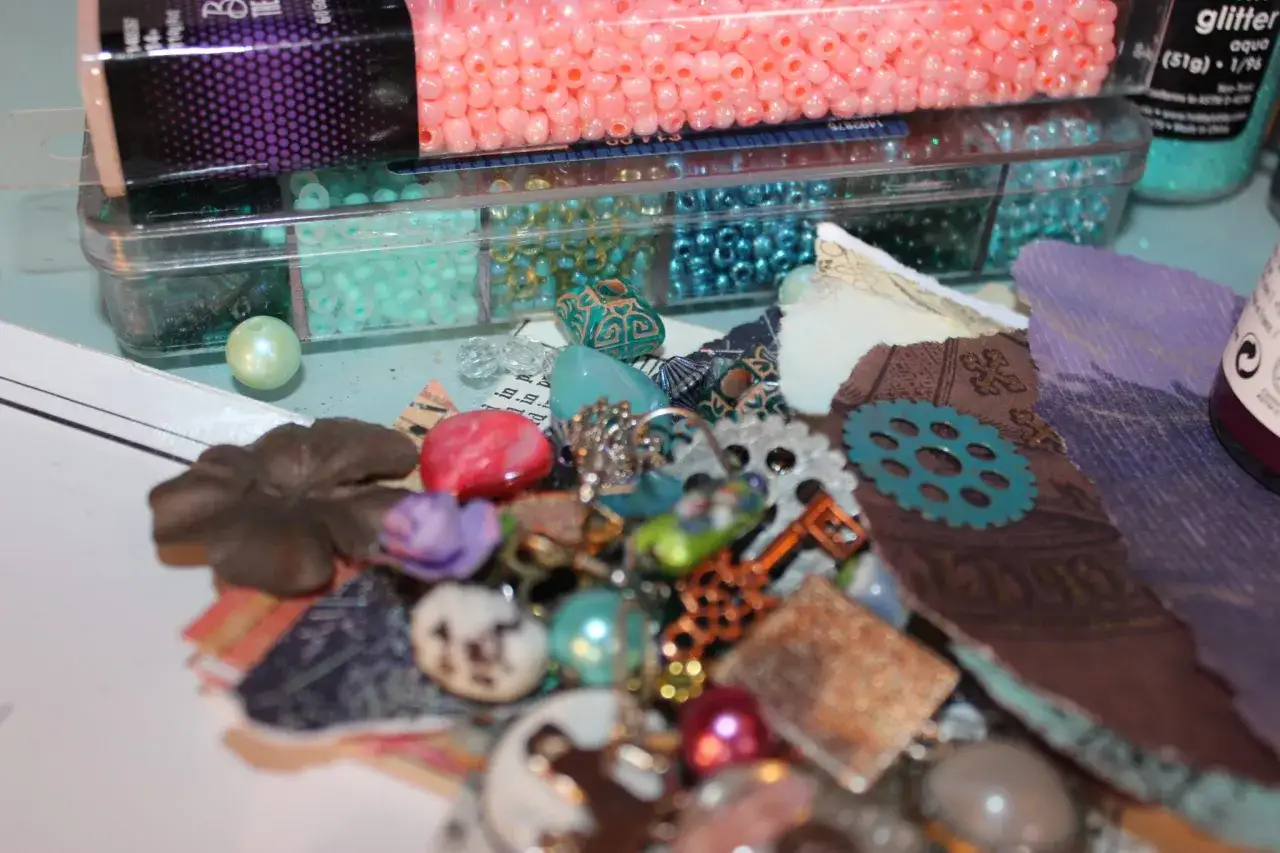
Materials that give you control instead of surprises
The safest material choices are the ones that let you layer without fighting the surface. In a U.S. studio, I usually expect a workable starter setup to land around $35 to $120, depending on whether you build on paper or move up to a cradled panel and artist-grade medium. Paper is cheaper to start with, but a panel pays off quickly when you want flatter joins and fewer drying problems.
| Support | Why I use it | Typical cost in the U.S. | Main drawback |
|---|---|---|---|
| Heavy paper | Fast, affordable, and ideal for studies or small pieces | $5 to $20 per pad section or sheet | Warps if you flood it with liquid medium |
| Stretched canvas | Familiar painting feel and easy wall display | $15 to $60 for modest sizes | Flex can telegraph seams and raised edges |
| Cradled wood panel | Flatter, sturdier, and better for heavier layering | $20 to $80+ | Heavier and usually more expensive |
| Illustration board or mat board | Good for mockups and smaller, controlled surfaces | $10 to $25 | Less forgiving when moisture builds up |
- Acrylic matte medium is my default for attaching paper fragments because it dries clear, lies relatively flat, and does not add much shine.
- Soft gel medium helps when the cutouts are slightly thicker or when I want more grab without a very wet surface.
- Heavy gel medium is better for uneven scraps, fabric pieces, or areas that need a stronger body.
- Archival PVA has a place, but I reserve it for situations where I know the adhesion needs are specific.
- Craft glue, rubber cement, and tape are poor long-term choices if durability matters.
For paint, acrylic is usually the most practical choice because it tolerates layering, dries quickly, and works cleanly with the same family of mediums. Watercolor can be beautiful in a collage, but I treat it carefully because too much moisture can buckle thin supports. Oil paint can also work, but only when the support and underlayers are built to handle it; on thin paper, it is usually a bad trade.
That material logic shapes the build itself, and the build is where the piece either becomes coherent or starts falling apart.
How I build it layer by layer
- Map the values first. I sketch a quick value plan so I know where the darkest anchor, the lightest area, and the main route for the eye will sit.
- Prepare the support. I seal or prime the surface with an acrylic ground if the support needs it, then let it dry fully before I add fragments.
- Dry fit before gluing. I arrange the painted pieces on the surface, step back, and photograph the best version before I commit.
- Attach from large to small. Big shapes go down first, then smaller fragments, then the details that tighten the composition.
- Use thin, even adhesive layers. A thin coat is usually stronger than a wet, puddled one. I press from the center outward to reduce bubbles.
- Paint into the seams. I use brushwork, glazes, or dry brushing to connect the pieces without erasing their differences.
- Let it cure before judging it. Thin acrylic layers are often touch-dry in 15 to 30 minutes, but I prefer overnight before heavy layering and longer if the surface is dense.
After the structure is in place, the next question is whether the work still reads clearly from across the room.
Composition rules that keep the piece readable
Good collage composition is less about piling on interesting objects and more about making sure the eye understands where to go. I usually want one dominant shape family, one repeating color note, and one quiet area where the surface can breathe. Without that rhythm, the piece can feel technically busy but visually undecided.
| If the piece feels like this | I usually change this |
|---|---|
| Too busy | Remove one texture family and expand a quiet zone |
| Flat | Add one dark anchor and one high-contrast edge |
| Disconnected | Repeat a color note in at least three places |
| Muddy | Glaze selectively instead of adding more opaque paint |
I also pay close attention to edges. Torn edges, painted edges, and hard cut edges create very different moods, and they should not all compete for the same amount of attention. A deliberate mix works; an accidental mix usually does not. If every edge is sharp, the image feels brittle. If every edge is soft, it can lose its structure.
Once those rules are in place, the work can take several different directions without losing its center.
Three formats that usually work better than trying to do everything
Monochrome study
This is the format I recommend when someone is still learning the technique. Restricting the palette to one dominant hue family forces the composition to rely on value, edge, and texture instead of color distraction. It is the cleanest way to test whether the fragments actually hold together as a single visual field.
Chromatic fragment field
Here, the collage is driven by a narrow set of related colors rather than a full palette. The work gains energy from repetition and small shifts in temperature. This format is useful when the surface needs movement but cannot afford visual noise.
Read Also: Tone in Art - Master Value for Powerful Paintings
Narrative board
This version uses painted scraps to suggest memory, place, or sequence. It can include text, symbols, sketches, or layered references, but I keep one area visually dominant so the story does not become a scrapbook. It is the most expressive option, and also the easiest one to overstate.
I like these three formats because each one solves a different problem: value, color, or story. Trying to solve all three at once is where many works become overloaded. Once the visual logic is settled, preservation becomes the final layer of good judgment.
The preservation choices that matter most later
Modern conservation practice is blunt about one thing: mixed-media works are harder to protect because different materials age at different rates. The Smithsonian has made the same point in its preservation work, and the advice matches what I see in studio practice. A painted collage can be structurally sound on day one and still become vulnerable later if the support flexes, the adhesive dries out, or the paper responds differently from the paint.
For a work that is meant to last, I would keep the following in mind:
- Use archival supports and avoid acidic backing boards.
- Keep paper-heavy pieces out of direct sun and away from HVAC blasts, kitchens, and bathrooms.
- Frame under UV-filtering glazing if the surface contains paper, dyed fragments, or thin paint films.
- Store fragile works flat rather than leaning them against a wall for long periods.
- Write the materials on the back or in a studio record: support, paints, medium, adhesive, and date.
In practice, I treat light-sensitive or paper-heavy work conservatively, often around 50 lux or lower when display conditions need to be controlled, because the safest strategy is usually the one that limits exposure before deterioration starts. That is also where documentation matters most: a clear materials record helps later conservation decisions and gives authentication work something solid to build on.
What I would change, if the piece is meant to live beyond the studio, is simple: choose the sturdiest support you can justify, keep the adhesive system consistent, and avoid materials you would not want a future conservator to puzzle over. That approach does not make the work less expressive. It just gives the expression a longer life, which is the real test for any layered surface.