
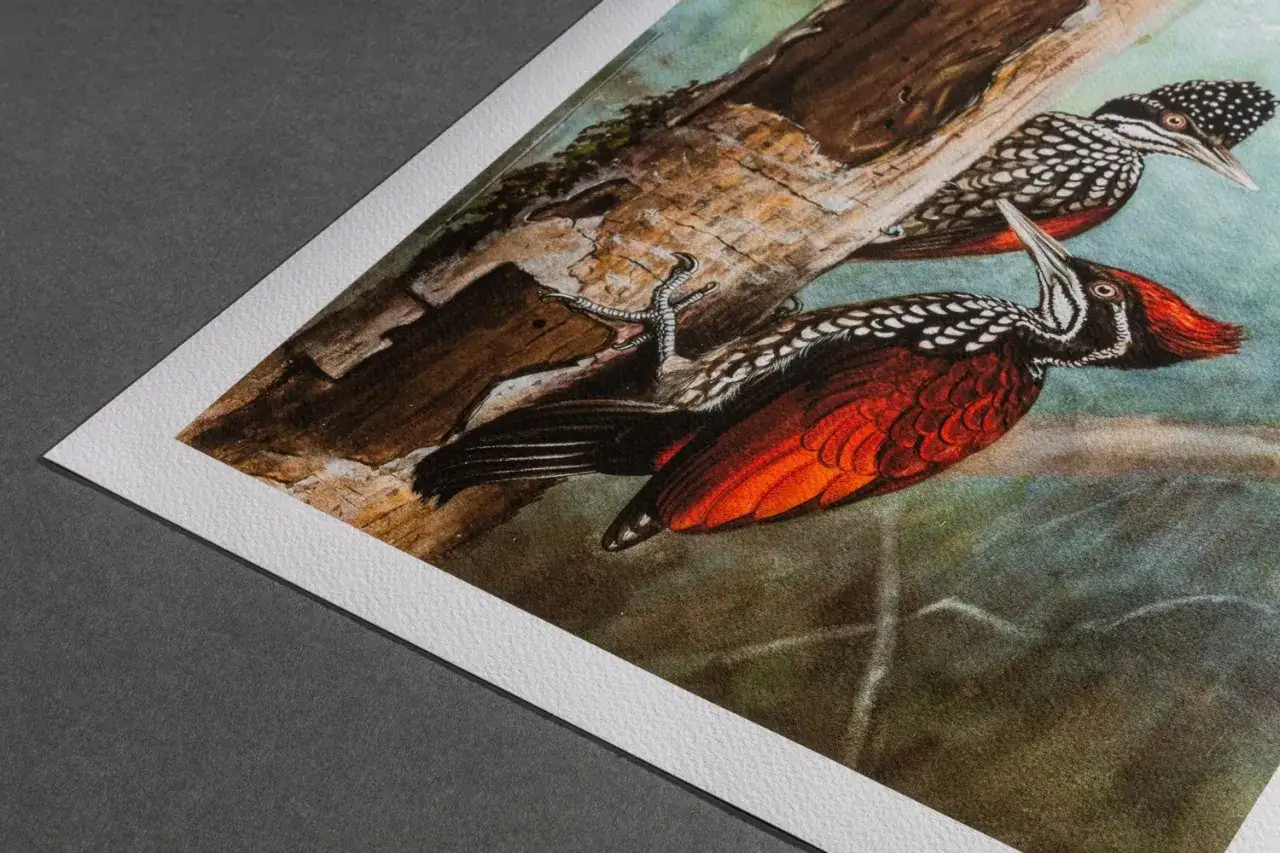
Fine art photography is built around intent: the image is not just a record, but an authored object shaped by framing, printing, surface, and presentation. In practice, that means the artist’s vision does not stop at capture; it continues through paper, chemistry, ink, mounting, and the way the work will be seen years later. This article breaks down the techniques and materials that matter most, with a clear eye on how they affect look, longevity, and authentication.
The choices that shape the final print
- Intent comes first. The strongest work is built around a point of view, not just a subject.
- Materials are part of the image. Paper, ink, coating, and mount change both the look and the lifespan.
- Process defines texture. Silver gelatin, pigment inkjet, platinum/palladium, and cyanotype each carry a different visual logic.
- Preservation is not optional. Light, humidity, and temperature are the main threats once the work leaves the studio.
- Authentication depends on the object. Editioning, paper choice, signatures, and documentation all matter.
The artist's vision comes before the camera
When I look at a photograph as a finished artwork, I start with a simple question: what is the image trying to be? That answer can be quiet, formal, confrontational, poetic, or deliberately ambiguous, but it should be legible in the choices the artist makes. A gallery print is not the same thing as a useful snapshot, and it is not supposed to be.
This is where the medium separates itself from purely descriptive photography. Cropping, sequencing, scale, contrast, and printing method all shape meaning. A tightly framed portrait on glossy paper communicates differently from the same subject printed large on matte cotton rag, even if the exposure came from the same file or negative. I read those differences as part of the work, not as finishing touches.
The strongest artist-led images also accept limitation. Some subjects want razor-sharp detail; others depend on softness, grain, or a restrained palette. If the visual idea is clear, the technique stops being decoration and starts doing real conceptual work. Once that purpose is clear, the next question is what the object is made from.
Materials change the meaning of the image
The Library of Congress reminds us that photographs are composite objects: a support, a binder, and an image material all work together. That is true whether the piece is a nineteenth-century print or a contemporary digital work. I think that framework is useful for artists too, because the paper or substrate is never neutral; it changes the emotional temperature of the image before a viewer even reads the subject.
| Process | Typical look | Why artists choose it | Practical note |
|---|---|---|---|
| Silver gelatin on fiber paper | Deep blacks, crisp highlights, classic tonal range | It supports strong black-and-white work and carries a long photographic tradition | More stable than many resin-coated prints, but still needs controlled light and humidity |
| Pigment inkjet on cotton rag or baryta | Wide tonal control, smooth gradients, matte or glossy finish depending on paper | Flexible for large prints, editioning, and color fidelity | Paper choice affects sheen, texture, and abrasion resistance |
| Platinum/palladium | Matte surface, velvety shadows, warm or cool subtlety | Excellent for restrained, highly crafted prints with a handmade feel | Hand coating makes paper quality and workshop consistency critical |
| Cyanotype | Distinct blue image with a graphic, sometimes experimental look | Useful for photograms, mixed media, and visibly process-driven work | Usually better for limited display and careful storage |
| Photogravure or other intaglio-based photo prints | Rich surface, subtle ink tone, tactile depth | Strong when the artist wants the photograph to read almost like a printmaking object | Labor-intensive, but the surface often rewards close viewing |
What matters here is not just permanence, but character. A matte print can feel meditative or historic; a glossy print can feel immediate and luminous; a hand-coated process can make the image feel physically present. I have seen otherwise strong photographs lose force because the surface fought the idea, and I have also seen a simple frame become memorable once the paper and image were perfectly aligned.
That is why I always think about the print as both image and artifact. From there, the workflow matters just as much as the chosen material.
How the print is built from capture to final object
The cleanest way to understand the process is to think in stages rather than shortcuts. Whether the source is film or digital, the artist is usually moving from observation to interpretation to object.
- Previsualize the final print. Decide whether the work should feel dense, airy, intimate, monumental, or deliberately spare.
- Choose the output before the image is “finished.” Paper size, border, surface, and tone are not secondary decisions.
- Make proofs. I never trust the first print to do all the work. Proofs reveal whether contrast, highlight detail, and midtone separation are actually holding.
- Refine the tonal structure. In the darkroom, that may mean dodging, burning, or toning. In digital work, it may mean soft proofing and printer profiling. Dmax, the deepest black a paper can hold, is one of the fastest ways to judge whether the image has enough tonal depth.
- Finish with discipline. Trimming, flattening, signing, and editioning should support the image, not distract from it.
I would add one practical rule: document the process as you go. Record the paper name, ink set or chemistry, enlargement ratio, toning, matboard, and any later intervention. That information is not just studio housekeeping. It becomes part of the work’s future identity, especially if the print is sold, collected, or conserved.
Once the object is made with care, the next challenge is making sure it survives contact with light, air, and handling.
Picking a process that matches the visual goal
The temptation, especially for newer artists, is to choose a process because it sounds serious or historical. I think that is the wrong order. The right question is whether the process serves the image.
If the work depends on crisp tonal fidelity and efficient editioning, pigment inkjet is often the most practical route. If it depends on subtle tonal recession and a handmade surface, platinum/palladium can be a better fit. If the artist wants an image that carries the physical presence of printmaking, photogravure or gum-based work may be more persuasive than a smooth digital surface. And if the point is to foreground the materiality of light itself, cyanotype still has real force because the process remains visible in the result.
That also means compromise is unavoidable. Slower processes can be beautiful, but they cost time, require more testing, and can be less forgiving in edition runs. Digital methods are efficient and precise, but they can look bland if the paper choice is generic or the file is treated like a commodity. I do not see that as a flaw in the medium. I see it as a reminder that technique has to be chosen for meaning, not fashion.
For reference, photographers and curators have long used the medium in both art and science, and the National Gallery of Art notes that early forms ranged from daguerreotype to salted paper prints and cyanotype. That history matters because it shows how broad the medium has always been. The best work usually knows exactly which part of that tradition it is borrowing from, and why.
When the process matches the intent, the image becomes easier to read and harder to confuse with a generic print. Preservation is what keeps that clarity intact.
Preservation is part of the work itself
The Library of Congress notes that light damage is cumulative and usually irreversible, which is the most important conservation fact for photographers to internalize. A print can look stable today and still be aging in ways the eye will not catch until the damage is already real. For that reason, I treat display conditions as part of the artwork’s technical setup.
- Relative humidity: For a mixed photographic collection, a storage set point between 30% and 50% RH is typical; if the space holds photographs alone, 30% to 40% RH is better.
- Daily cycling: Keep fluctuations below about +/- 5% per day.
- Light: Unknown inkjet prints should stay around 30 to 100 lux, and all light exposure should be minimized when the work is not on view.
- Display limits: Very light-sensitive prints are often shown only briefly, while moderately light-sensitive works are typically displayed at 5 to 10 foot-candles.
- Temperature: Cold storage matters for nitrate, acetate, and chromogenic materials; for some print materials, 18°C is already the upper boundary for extended-term storage.
Those numbers are not museum trivia. They explain why certain materials age gracefully and others demand strict control. Silver gelatin prints in good condition are often more forgiving than early digital prints on unstable supports, and platinum/palladium generally holds up well, but no photograph is immune to poor light or bad storage. I would rather have a modest work housed correctly than an expensive one framed in a way that accelerates fading.
Handling matters too. Use stable mats, buffered enclosures, and reversible mounting methods. Avoid pressure-sensitive tape, rubber bands, and unpredictable adhesives. If a print is already valuable as an edition object, the framing system should protect it without becoming a second problem. That is the point where conservation and presentation stop being separate disciplines.
How I choose materials when the piece has to live for decades
When I am deciding on materials, I start with five questions: what should the work feel like at arm’s length, how much light will it see, how large does it need to be, how many copies should exist, and what kind of care can realistically be maintained? Those answers usually narrow the field fast.
- Choose for the viewing distance. A work meant for intimate viewing can reward fine tonal detail; a work meant for a lobby needs stronger graphic structure.
- Choose for the environment. If the print will live in changing light or variable humidity, I avoid fragile surfaces and unstable supports.
- Choose for the edition. Limited editions demand consistency, so the material must be reproducible enough to hold the series together.
- Choose for the archive. Keep a master file or negative, a sample print, and a production record.
- Choose for authenticity. Save the signature format, paper name, process notes, and any studio stamps or blind marks in one place.
If I had to reduce the whole subject to one practical rule, it would be this: let the material serve the image, then let the conservation plan serve the material. For buyers, curators, and artists alike, the most useful questions are not only “Does it look right?” but also “What is it made of, how was it issued, and how will it age?” Those answers usually tell you more than the image alone.
That is where the medium becomes most satisfying: when the idea, the surface, and the care structure all point in the same direction.